📖 Reading time: ~13 minutes
⏱️ Total time to complete: 1-2 hours (including hardware setup and initial transactions)
💰 Required investment: ~200-400 euros for hardware wallet and backup system
Why should I care about Cold Storage?
People have lost hundreds of millions in Bitcoin. These are the most common reasons:
- Lost seed phrase: James Howells accidentally threw away a hard drive containing 8,000 Bitcoin (now worth over 700 million euros) in 2013.
- Scams or phishing attacks: Eric Savics lost 7 years of savings (over 1 million euros in Bitcoin) in 20 minutes after downloading a fake wallet app.
- Exchange hacks/collapse: The FTX collapse in 2022 left customers unable to access billions in Bitcoin they stored on the exchange.
- Death without an inheritance plan: Family members unable to access Bitcoin after the owner's death, lost forever.
The pattern: Most losses are from not having proper backups or giving up custody to third parties. This is why cold storage is essential, especially when you have a significant amount of Bitcoin.
What is Cold Storage?
Cold storage is the practice of securing Bitcoin offline, away from internet-connected devices and potential hackers. It's the standard for protecting significant amounts of Bitcoin you plan to hold long-term.
As we saw in BTC 102: How to Buy Bitcoin, a hot wallet is a wallet that has had its seed phrase generated online, it's convenient, but also potentially vulnerable. A cold wallet, on the other hand, is a wallet that has had its seed phrase generated offline, and where the seed phrase has never been exposed to any online device, thus it is immune to online hacks. However, this security comes with responsibility: your Bitcoin is only safe as long as you don't share the private seed and don't lose it.
When should I move to Cold Storage?
There is no hard rule for when to move to cold storage, but it's usually said that you should consider it when you have around 2 salaries invested in Bitcoin.
Hardware wallets cost around 100-250 euros, plus the cost of a backup system for your seed phrase (around 50-100 euros). If you only have 100 euros in Bitcoin, the investment may not be justified yet. However, some people prefer the peace of mind of going cold storage from the beginning, it's a matter of personal preference. A good rule of thumb: if you're losing sleep worrying about your Bitcoin security, it's time to move to cold storage.
⚠️ Disclaimer: I'm not being sponsored by any company. To have cold storage you will need to buy both a hardware wallet and a backup system for your seed phrase. Therefore, my recommendations are only based on my personal experience and what I think is the best option for you.
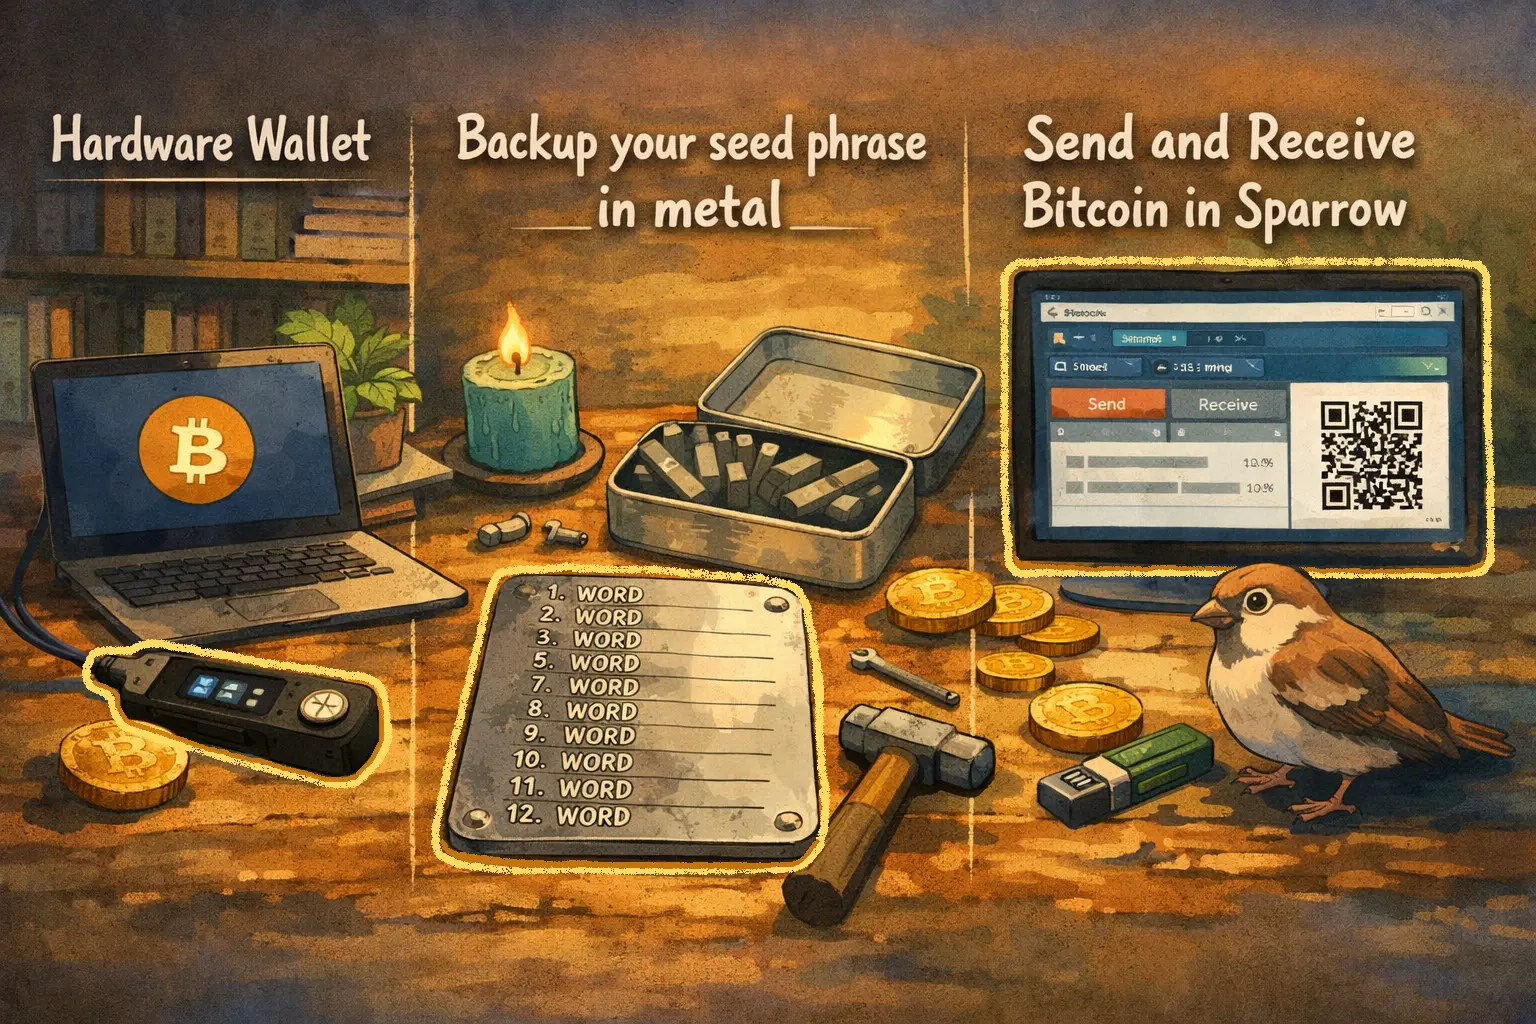
In this tutorial, I'll guide you through choosing a hardware wallet and seed backup system, creating your first cold wallet with the hardware wallet, and using Sparrow to send and receive Bitcoin.
Hardware Wallet
A hardware wallet is a physical device that generates and stores your wallet seed offline, creating what's known as a cold wallet. This way it grants maximum security to your Bitcoin.
The device allows you to sign transactions offline before broadcasting them to the network, ensuring your private keys never leave the secure environment of the hardware wallet, even when sending Bitcoin. Modern hardware wallets also offer additional security features, which won't be covered in this tutorial but are worth learning about on your own, such as: temporary seeds, passphrases, multi-signature support, etc.
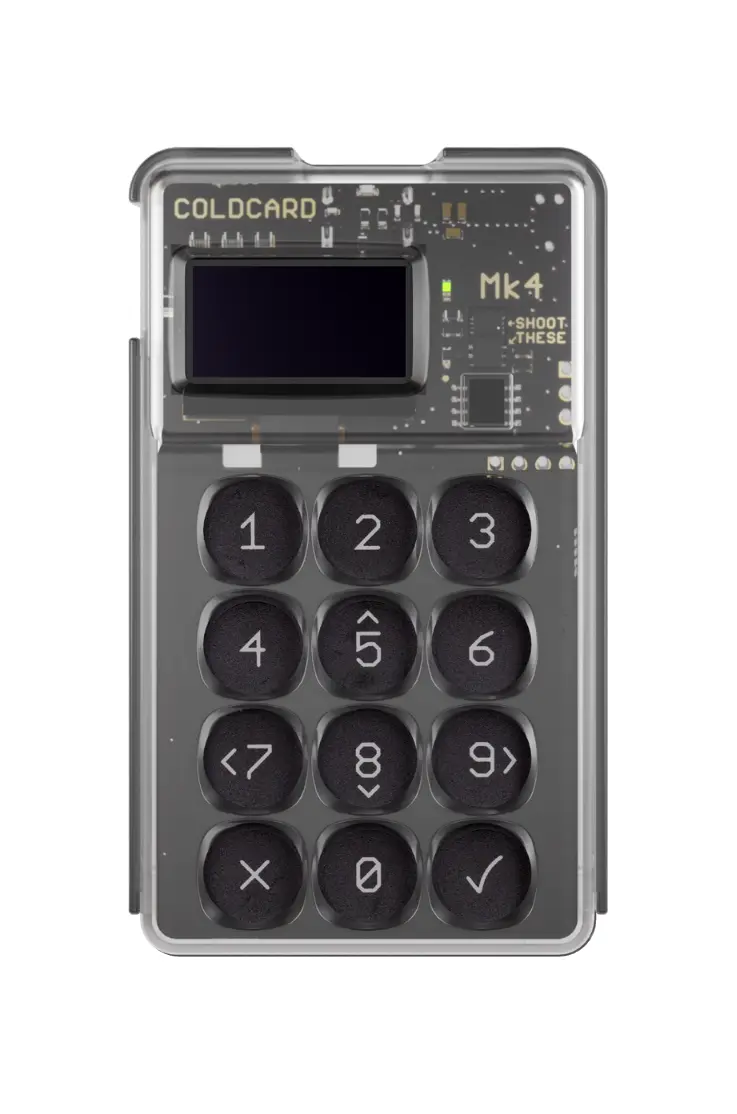
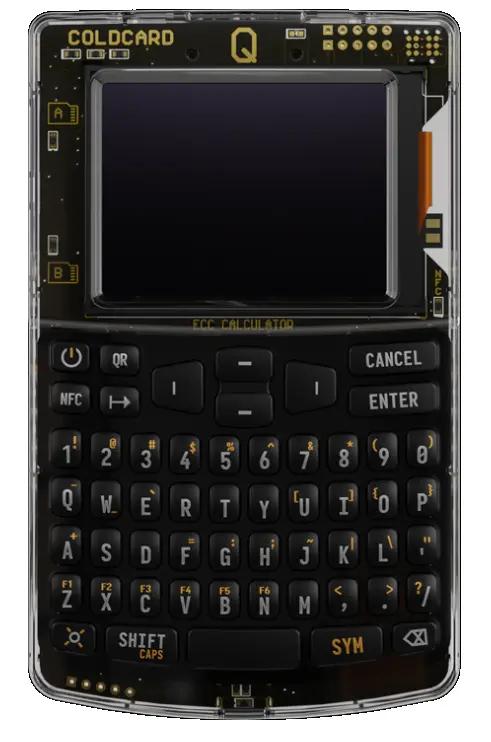
There are different options for your hardware wallet (ColdCard, BitBox02, Trezor, Jade), each one of them has a different price and sometimes different specifications. I recommend using ColdCard, either the ColdCard Mk4 (around 150 euros) which is the device I'll use for this tutorial, or pay a little bit more to have a bigger screen and more buttons: ColdCard Q (around 250 euros). Both options are great.
Explore other hardware wallet options
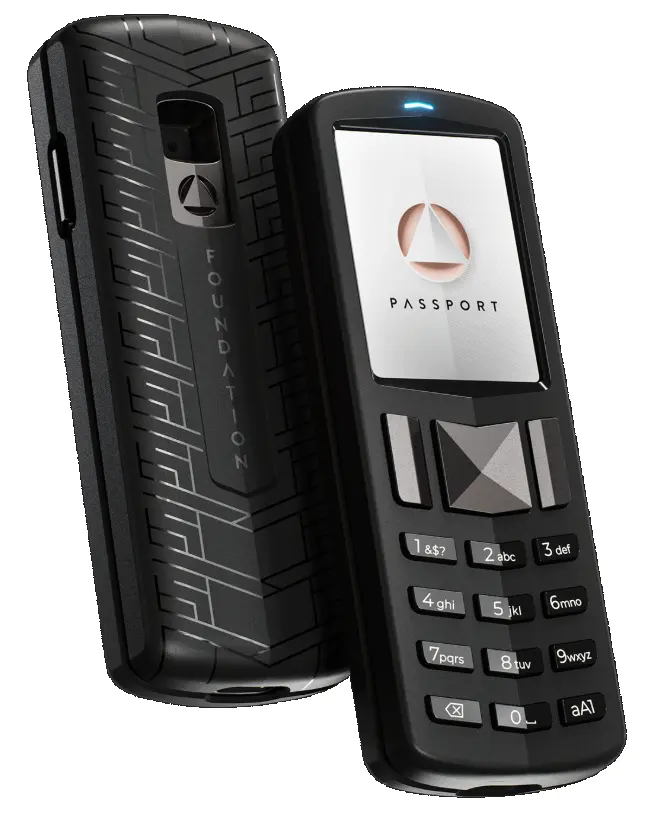
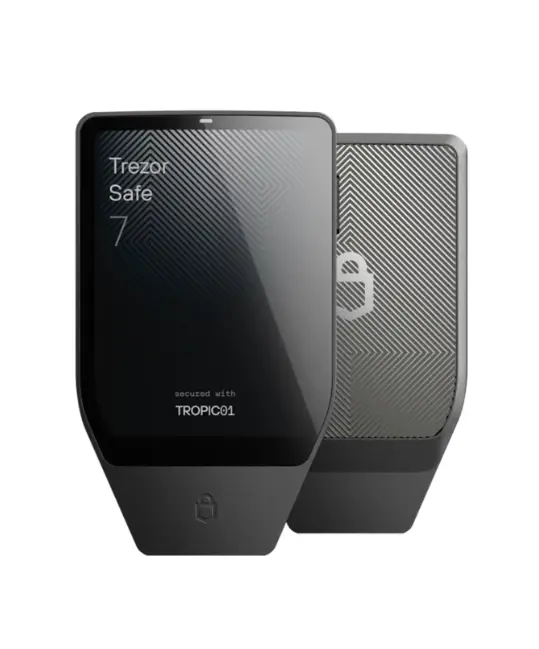
There are other good options like the BitBox02 (around 150 euros), the Passport (around 200 euros), or the Trezor Safe 7 (around 250 euros).
If you want to understand the characteristics of each hardware wallet in detail, here is an in-depth 1-hour comparison:
If you want to keep it simple, I recommend buying the ColdCard Mk4 or the ColdCard Q. This way you'll also be able to follow this tutorial without any problems.
Let's go through the process of setting up our hardware wallet, we will also see how to backup our seed phrase with metal plates and how to use Sparrow to manage our cold wallet.
Seed phrase backup
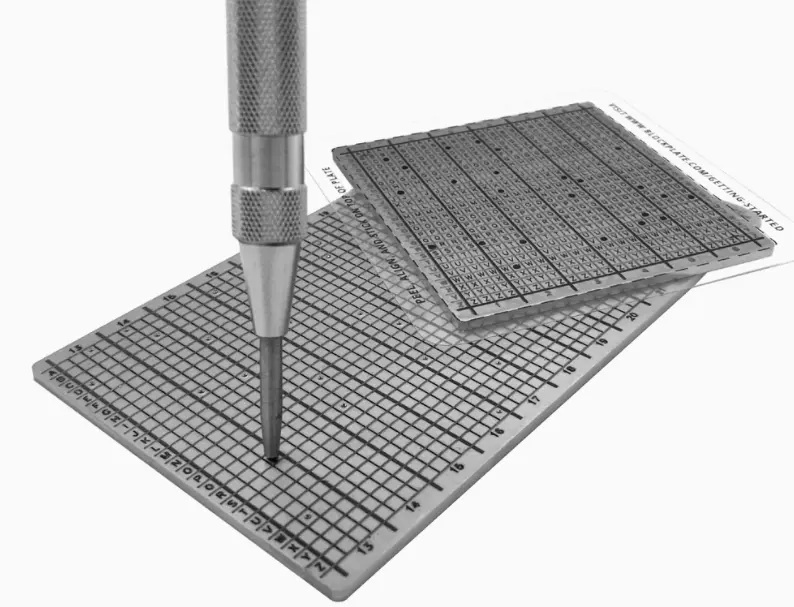
Using metal plates is the most secure way to backup your seed phrase. Metal plates are impossible to hack and they last over time. Writing down your seed phrase in a piece of paper is not secure in the long term, as it can be stolen, lost or or damaged by water or fire.
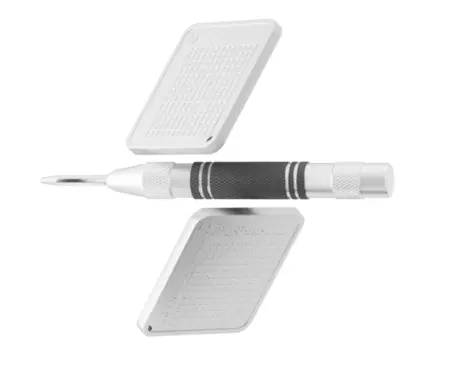
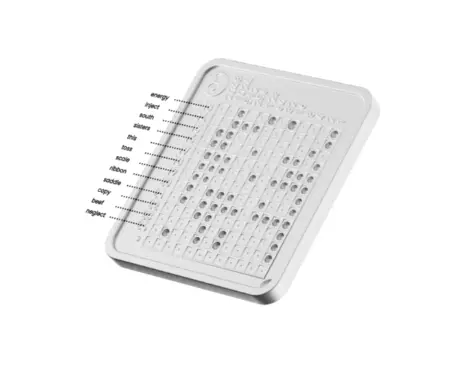
To backup your seed phrase with metal plates, I recommend buying: OneKey KeyTag (around 60 euros). This product consists of 2 metal plates and a punch pen to record your seed phrase (you can store up to two different seed phrases).
Explore other seed phrase backup options
There are other options to store your seed phrase in metal plates like Blockplate, Coinplate Alpha and Seedplate.

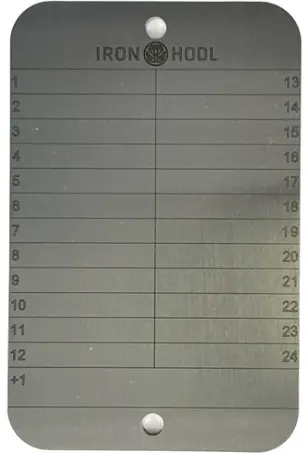
You can also use engraving methods instead of punching, such as IRON HODL or TI1000.

I recommend OneKey KeyTag because it's one of the most affordable options, includes 2 plates and a punch pen, and is both durable and easy to use.
Any of these options work, the most important thing is to have a durable backup of your seed phrase. Feel free to compare prices and specifications.
MicroSD card and Adapter
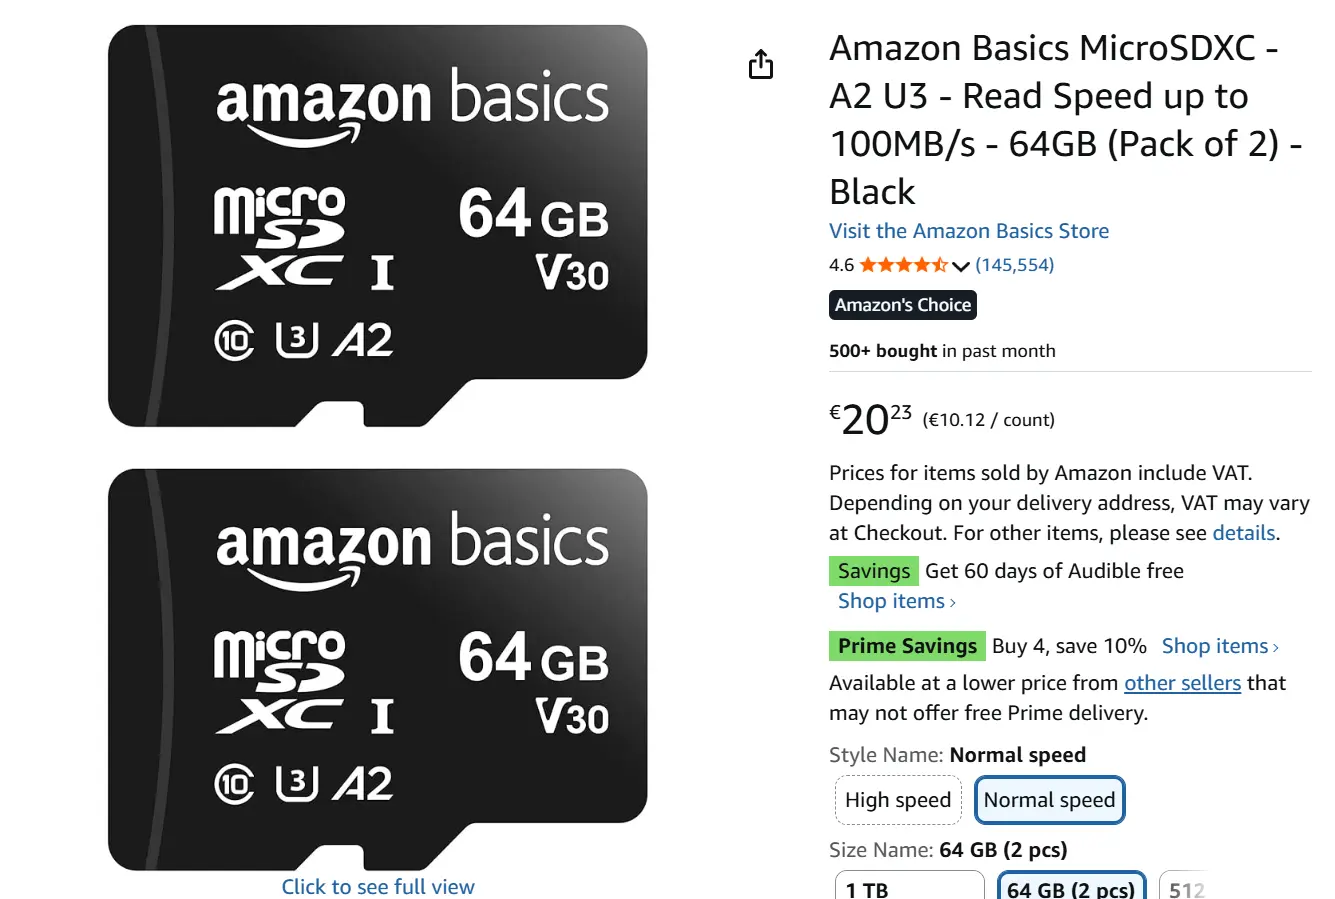
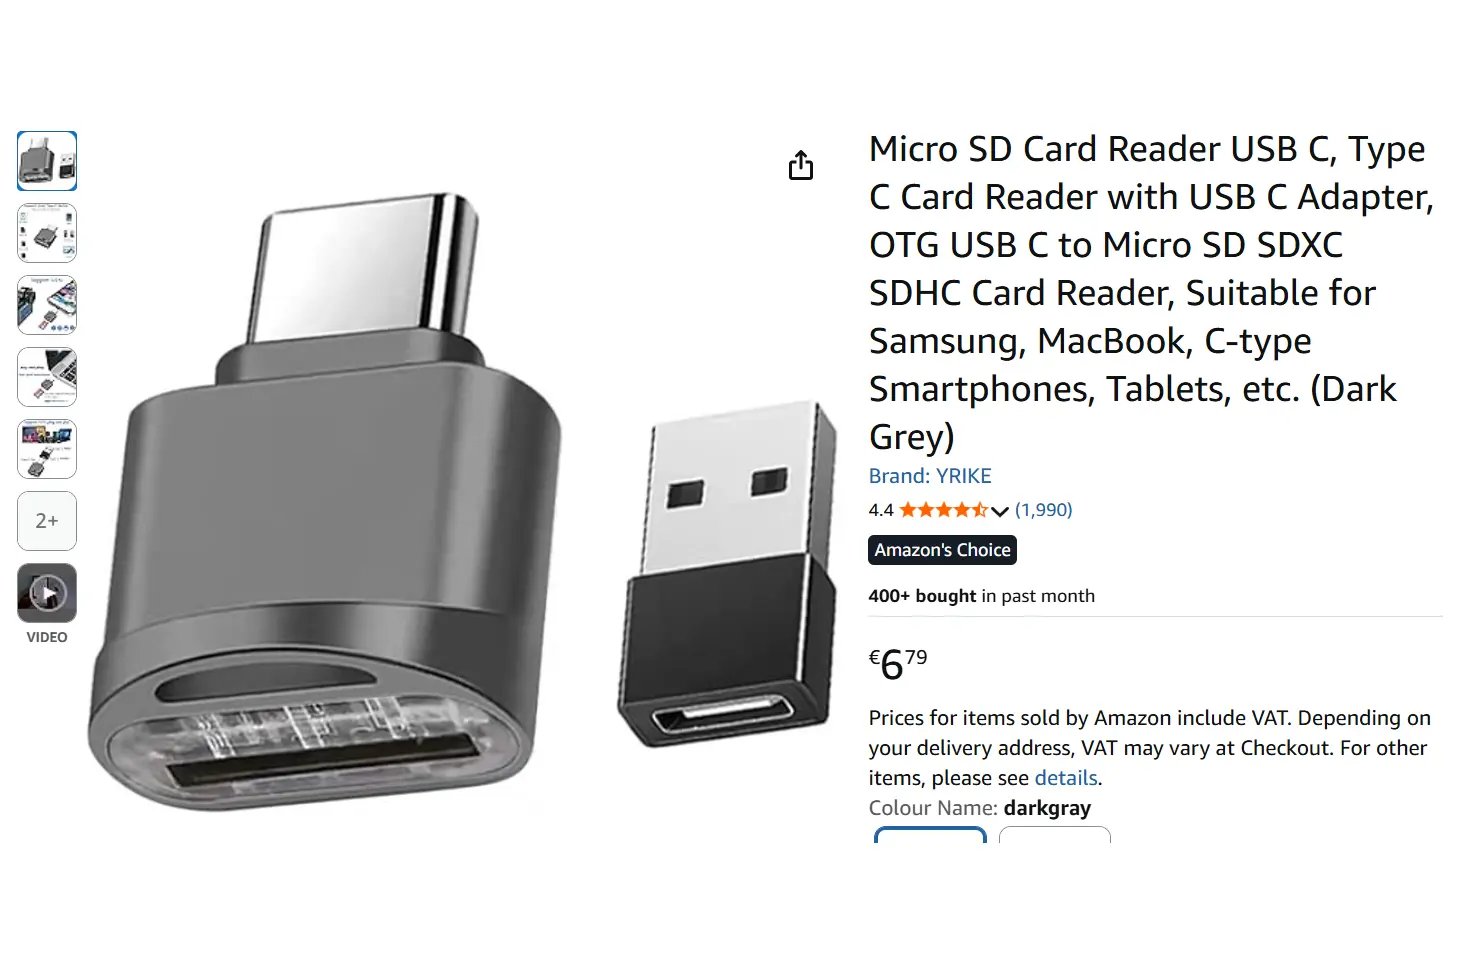
If you use a ColdCard, you need to buy a microSD card to store the wallet export from the ColdCard, and an adapter to connect the microSD card to your computer. You can find these on Amazon or any electronics retailer. Here are examples: MicroSD and Adapter.
For the following sections, we assume you have purchased the hardware wallet, the metal plate backup, and (if using ColdCard) the microSD card and adapter. If you're using a different hardware wallet, the process will be similar but the exact steps may vary.
Installing Sparrow Wallet
Install Sparrow Wallet on your computer. Sparrow is an open-source and non-custodial desktop wallet especially designed for cold storage of Bitcoin. It's what most Bitcoiners use to manage their hardware wallets.
The initial setup is straightforward:
- Install Sparrow Wallet
- [Introduction] Click Next
- [Public Server] Click Next
- [Bitcoin Core node] Click Next
- [Connecting to a Private Electrum Server] Configure Server
- Click Test Connection
- If it says "Connected to Electrum": Click Create New Wallet
- If it failed, pick another Public Server URL and try again
- Now Sparrow Wallet is set up!
We'll import your cold wallet from the hardware wallet in the next steps. For now, Sparrow is ready and waiting.
Hardware Wallet setup
Now it's time to create your first cold wallet using the ColdCard. Follow along with the steps below, or if you prefer video instructions, watch the 7-minute tutorial:
Here are the steps:
- Unpack the ColdCard Mk4 (it comes with a serial number card and a temporary wallet backup card)
- Plug the ColdCard into a power source (preferably a wall outlet rather than your computer)
- Verify that the serial number on the device matches the one on the package card
- Follow the on-screen tutorial to set up your ColdCard PIN and store it on the backup card
- Select "New Seed Words" to generate your first cold wallet
- Write down the seed words on the backup card and complete the verification quiz
- Once complete, your ColdCard will display "Ready to Sign" as the first menu option
Congratulations! Your ColdCard is now ready to sign transactions offline 🥳
Before we use it, there's one critical step: moving your seed phrase from the temporary backup card to the permanent metal plate.
Backup your seed phrase in metal
The backup card that came with your ColdCard is only meant for temporary storage during setup. Now we'll transfer your seed phrase to a permanent, fireproof, and waterproof metal backup.
Creating your metal backup:
- Unpack the OneKey KeyTag (includes two metal plates, a punch pen, and instructions)
- Use the punch pen to carefully punch the holes corresponding to each word of your seed phrase
- Double-check your work (each word must be punched correctly)
- Optional: Add an NFC chip to store a note (like "Bitcoin wallet backup")
- Optional: Apply the tamper-evident seal (wait until after you've verified the backup works)
⚠️ Critical security steps:
- Never photograph your seed words or backup card
- Don't let anyone see your seed phrase while you're working
- Once you've punched the metal plate, burn or shred the paper backup card completely
Verify your backup before destroying the paper:
Before destroying the backup card, it's wise to test your metal backup. You can do this by temporarily deleting your wallet from Sparrow and restoring it using only the metal plate. This ensures that if you ever need to recover your wallet years from now, you'll be able to. Don't wait 10 years to discover your backup doesn't work!
Store your metal plate securely:
Your metal plate is now the master key to your Bitcoin. Anyone who finds it can access your funds. Consider storing it in a home safe or other secure location. Remember: the ColdCard stores the wallet in its secure element, so for day-to-day use you won't need the metal plate, it's only for recovery if your ColdCard is lost or damaged.
Now that your cold wallet is secured and backed up, let's learn how to use it with Sparrow to send and receive Bitcoin!
Import your Cold Wallet to Sparrow
Before we can receive Bitcoin, we need to import your cold wallet from the ColdCard into Sparrow. This process only exports your wallet's public information (xpub), not your private seed phrase, which remains safely stored in the ColdCard.
Here's how to import your wallet:
- Insert the microSD card into your ColdCard
- On the ColdCard, navigate to: Advanced → MicroSD Card → Export Wallet → Generic JSON
- The ColdCard will save a file to the microSD card
- Remove the microSD card and insert it into your computer using the adapter
- In Sparrow, click File → New Wallet
- Name your wallet (e.g., "Cold Storage")
- Click Airgapped Hardware Wallet → ColdCard → Import File
- Choose the JSON file from your microSD card
- Click Apply to complete the setup
Your cold wallet is now connected to Sparrow! The wallet shows your Bitcoin addresses and balance, but all signing still happens offline on the ColdCard.
Receive Bitcoin in Sparrow
Receiving Bitcoin to your cold wallet is simple. Let's transfer some Bitcoin from your hot wallet (like BlueWallet) to test that everything works.
Here's how:
- In Sparrow, click the Receive tab on the left sidebar
- Sparrow will display a Bitcoin address and QR code
- Copy this address or scan the QR code with your phone
- In your hot wallet (BlueWallet), go to Send
- Paste the address from Sparrow and send a small amount (start with a test transaction)
- Wait for the transaction to be broadcast to the network
Within a few seconds, you should see the pending transaction appear in Sparrow. Once it's confirmed in a block, the Bitcoin is secured in your cold storage! 🎉
Send Bitcoin from Sparrow
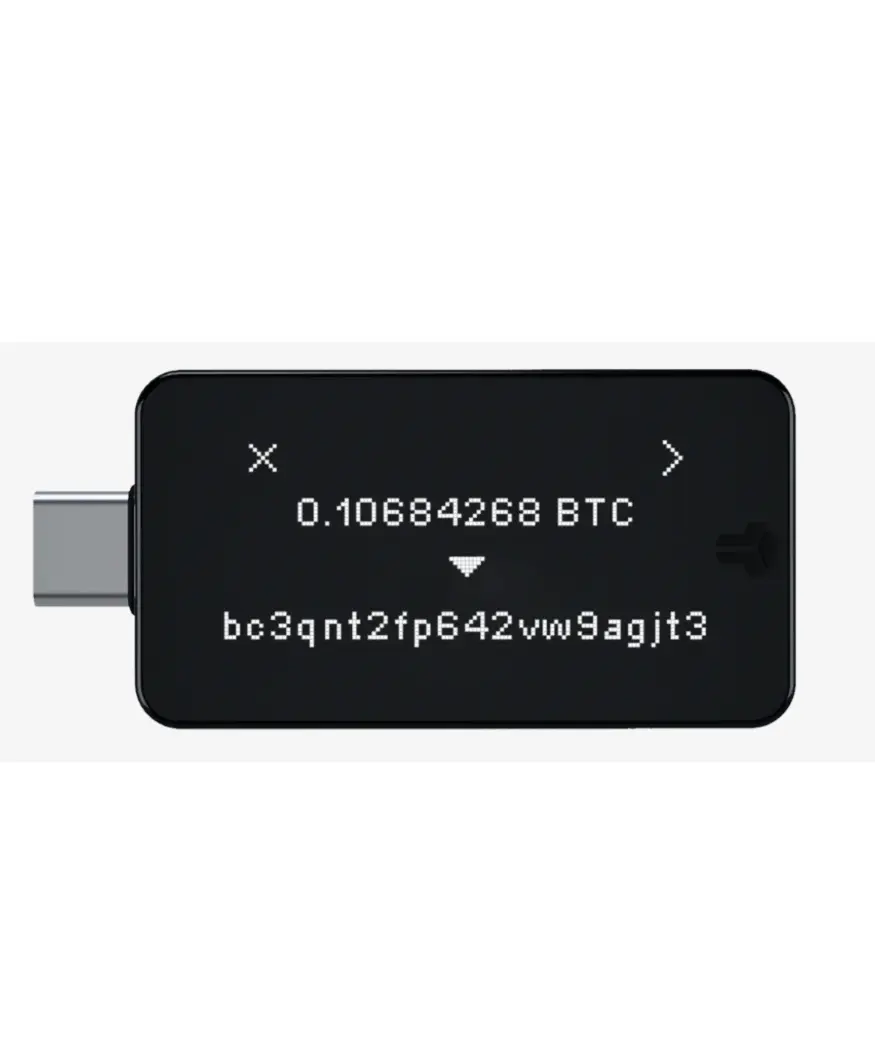
Sending Bitcoin from your cold wallet is where the air-gapped security really shines. The transaction is created in Sparrow, signed offline on your ColdCard, and then broadcast to the network. Your seed phrase never touches an internet-connected device.
Let's send those test Bitcoin back to your hot wallet to complete the round trip.
Step 1: Create the transaction in Sparrow
- In Sparrow, click the Send tab on the left sidebar
- In your hot wallet (BlueWallet), go to Receive and copy your Bitcoin address
- Paste this address into the "Pay to" field in Sparrow
- Enter the amount you want to send (or click Max to send everything)
- Select your transaction fee:
- Low priority (1-2 sats/vB): Slower, cheaper, good when you're not in a hurry
- Normal priority (2-4 sats/vB): Balanced option
- High priority (5+ sats/vB): Faster confirmation
- Check mempool.space to see current network conditions
- Click Create Transaction
- Review the transaction details carefully
- Click Finalize Transaction for Signing
Step 2: Save the transaction to microSD
- Click Save Transaction
- Save it to your microSD card (it will be named something like
coldcard-transaction.psbt) - Safely eject the microSD card from your computer
Step 3: Sign the transaction on ColdCard (air-gapped)
- Insert the microSD card into your ColdCard
- On the ColdCard, select Ready To Sign
- The ColdCard will display the transaction details
- Carefully verify:
- The destination address matches your hot wallet
- The amount is correct
- The fee seems reasonable
- If everything looks good, press ✓ to sign the transaction
- The ColdCard will create a signed file on the microSD card (ending in
-final.txn) - Remove the microSD card from the ColdCard
Step 4: Broadcast the signed transaction
- Insert the microSD card back into your computer
- In Sparrow, click Load Transaction
- Navigate to your microSD card and select the file ending in
-final.txn - Sparrow will show the transaction is now signed and ready to broadcast
- Click Broadcast Transaction
That's it! Your transaction is now being broadcast to the Bitcoin network. You should see it appear in your hot wallet within seconds, and it will be confirmed once it's included in a block.
🎉 Congratulations! You've successfully set up cold storage, received Bitcoin, and sent Bitcoin using an air-gapped signing process. Your seed phrase never touched an internet-connected device, keeping your Bitcoin secure from online threats.

What's Next?
You now have a solid foundation for Bitcoin cold storage. Here are some advanced topics to explore when you're ready:
- Passphrases (25th word): Add an extra layer of security to your seed phrase
- Duress wallet: Create a decoy wallet with a small amount in case of physical threats
- Multi-signature (multisig): Require multiple keys to spend Bitcoin, useful for larger amounts and added security
- Bitcoin Lightning: Fast, low-fee payments for everyday transactions
- Inheritance planning: Ensure your Bitcoin can be recovered by trusted family members using time locks or multi-sig setups
The Bitcoin rabbit hole goes deep, but you've taken the most important step: securing your Bitcoin with proper self-custody. Well done! 🚀